The wrong cutting method can damage a metal siding panel’s protective finish. Use the panel manufacturer’s permitted tool for the exact metal, profile and cut: snips, shears, a nibbler or a crosscut cutter may suit the job, while a saw needs explicit product-specific approval.
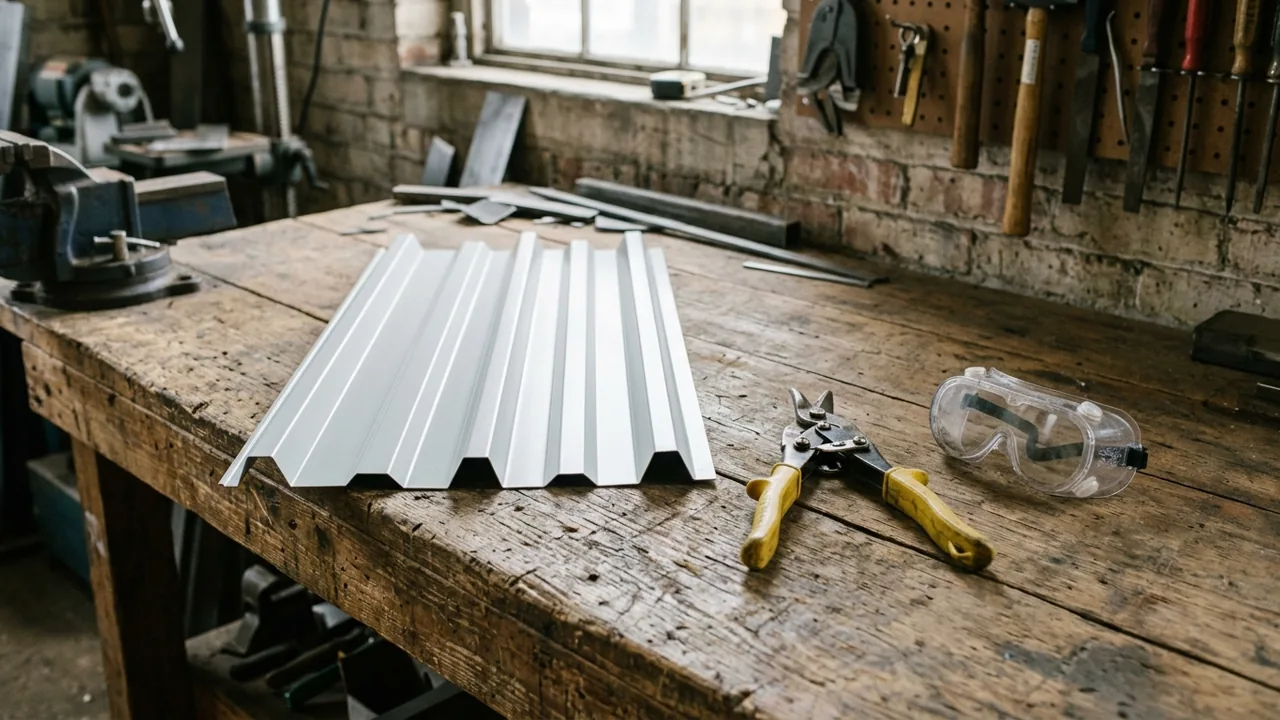
What to cut metal siding with depends on the panel instructions, not just the tool name. Start with the product and metal, identify whether the cut crosses a formed lock, then check the permitted method. The table below separates manufacturer conditions; the copyable card records what to check before cutting and before installation. It covers single-skin siding. Insulated sandwich panels and metal composite panels need their own instructions.
Use this alongside the design and specification guides in the metal wall coverings library. Opening flashings and installation sequence belong in the metal wall panel installation guide.
Match the tool to the manufacturer’s panel instructions
Snips and powered sheet-metal cutters are options only within their documented scope. A tool that cuts a flat face may still be unsuitable for the same panel’s formed lock.
| Input or item | Value or source to record | Why it matters |
|---|---|---|
| Panel identity | Manufacturer, product and applicable manual | Establishes which tool permission applies |
| Metal and thickness | Product data; unknown until confirmed | Needed to check the tool’s own material capacity |
| Cut geometry | Across panel, parallel to length, or notch | Separates a crosscut from a cut through a lock |
| Finish and edge treatment | Panel maker’s written instructions | A scratch repair does not settle the new cut-edge rule |
On narrow screens, swipe the table horizontally to read the final column. The following is a reading of published instructions, not a test or a ranking. Keep each row attached to its named product and document. Check that the version applies to the panels being installed.
| Manufacturer and document | Tools and cut conditions stated | Boundary to carry onto the job |
|---|---|---|
| EDCO Endura steel siding guide, September 2022, p. 5 | Tin snips for cutouts; a suitable sharp guillotine for cuts across the panel; electric shears for long horizontal or flat angled cuts. | Its broad snips guidance must not override instructions for a different profile. |
| Same EDCO 2022 guide, power-saw paragraph | Warns against heat-generating cutting, but names an approved Tenryu PRF-18548BW Steel-Pro blade exception and says to consult the siding manufacturer. | This named exception is not approval for any metal-cutting blade or saw. Confirm the current combination. |
| EDCO Perspectives instructions, February 2026, p. 7 | Requires a ferrous blade for its power-saw method. Shears or nibblers are listed for long cuts parallel to the product. | Snips, shears and nibblers are not recommended for cutting its upper or lower lock. Non-ferrous blades, jigsaws and grinders are excluded by the stated coating warnings. |
| Western States Metal Roofing, General Information, p. 1; effective 1/19 | Recommends tin snips or an electric nibbler for field cuts. | Confirm applicability to the actual panel. The same sheet requires immediate chip removal and eye protection. |
| Aluminum siding without an applicable manual in hand | Unknown / verify on the panel documentation. | No aluminum-specific tool approval is established by the steel instructions above. |
The Perspectives row is the reason to read beyond a general list of “best metal siding cutting tools.” Even within one manufacturer’s literature, the profile changes the limits.
Separate a crosscut, a long cut and a window notch
Mark the intended cut and identify every part of the profile it crosses before selecting equipment. Use the table as a document lookup, not permission to improvise on an unknown panel.
- Across the panel: check for a cutter approved for that profile. EDCO’s 2022 guillotine description limits it to cuts across the panel.
- Parallel to the panel: check the long-cut instruction and the tool’s material rating. Perspectives lists shears or nibblers for this direction, with the lock restriction still in force.
- Window or door notch: identify whether the outline reaches a lock. The older EDCO guide describes snips for openings; that does not remove the Perspectives restriction.
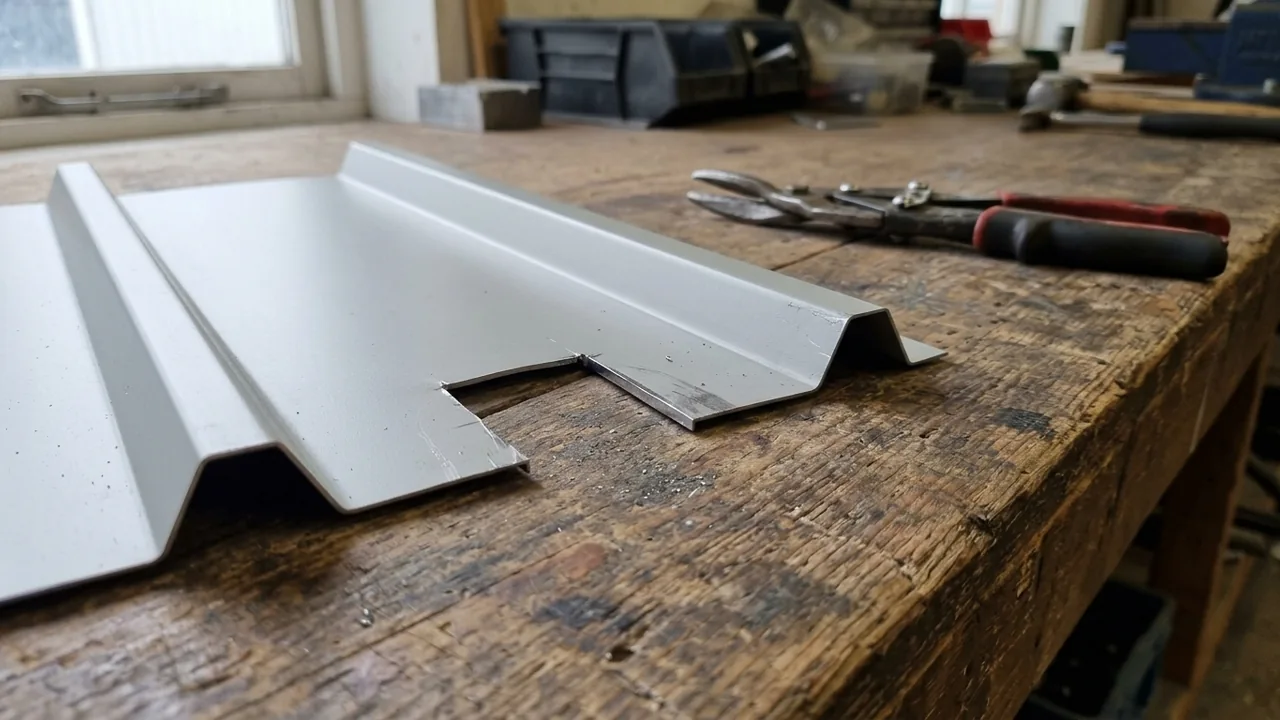
Our recommendation is to resolve an unclear lock-crossing cut with the panel manufacturer before starting. Do not flatten a lock merely to make the available tool fit. Verify the permitted gauge capacity, blade or die specification, panel support, and personal protective equipment in both the tool manual and the panel manufacturer’s installation guide.
Inspect chips, finish damage and the new cut edge separately
Remove cutting debris promptly, then assess the panel itself. Western States’ field-cutting sheet tells installers to remove slivers immediately, keep installed surfaces clean at the end of a work period, wear goggles and avoid cutting above metal surfaces. Its warning ties retained shavings to surface rust and finish damage; it does not mean every mark proves the underlying panel is corroding.

Keep three findings separate in your record:
- Loose swarf: locate and remove chips using the applicable care instructions, including debris left on nearby finished surfaces.
- A scratch in the painted face: follow that finish’s repair limits. AEP Span’s 2025 bulletin covers scratches and very minor damage on factory-painted steel; it warns that air-dried touch-up weathers differently from the baked finish and should be used sparingly.
- A freshly cut edge or damaged lock: obtain the panel maker’s edge-treatment or replacement instruction. The AEP scratch bulletin is not a universal instruction to prime or paint every new cut edge.
The metal cladding corrosion guide explains the wider exposure questions. For a finish decision, use the metal panel finishes guide and repainting metal siding; do not convert a local repair into a full repaint specification.
Copy the before-and-after cutting card
Copy this text into the job record. Leave unknown entries blank or mark them “Unknown / verify”; do not treat an empty approval field as permission to cut.
METAL SIDING CUTTING CARD
Location / panel mark:

BEFORE CUTTING
Panel manufacturer and product:
Metal / documented thickness:
Finish / coating:
Applicable manual, revision and page:
Cut: across panel / parallel / notch
Does the line cross a rib, upper lock or lower lock?
Permitted tool and source paragraph:
Required blade / die / cutter and tool-manual capacity:
Support and protective equipment from applicable manuals:
Where chips will land / cleanup method:
New cut-edge treatment instruction, or question to resolve:
Decision: proceed only with the required instructions resolved.

AFTER CUTTING, BEFORE INSTALLATION
Cut location matches drawing and recorded measurements:
Chips removed from panel and nearby finished surfaces:
Cut edge inspected to panel maker's acceptance instructions:
Lock / lip retains required shape and fit:
Face scratches recorded and repair / replacement rule checked:
Required edge treatment completed, if specified:
Unresolved damage or instruction:
Decision: accept / hold for manufacturer instruction
Checked by / date:
A hold is the useful outcome when the tool permission, lock condition or edge rule is missing. Resolve that item before the cut panel enters the wall.
Method and sources
This guide synthesizes manufacturer field-cutting and touch-up documentation: EDCO Products’ Steel Siding Installation Guide (September 2022, page 5) and Perspectives Siding Install Guide (February 2026, page 7), Western States Metal Roofing’s General Information — Field Cutting (effective January 2019, page 1), and AEP Span’s Technical Bulletin 10 — Touch-Up Paint (2025). Always verify that both the panel installation instructions and the cutting tool manual authorize the specific metal, gauge, and profile before cutting.
Sources
- Steel siding installation guide, September 2022 — Cutting Panels, page 5 — EDCO Products Accessed October 15, 2026.
- Perspectives Siding Install Guide, February 2026 — page 7 — EDCO Products Accessed October 15, 2026.
- General Information — field cutting, page 1; effective date 1/19 — Western States Metal Roofing Accessed October 15, 2026.
- Technical Bulletin 10 — Touch-Up Paint, 2025 — AEP Span Accessed October 15, 2026.